Terraform DigitalOcean
This utility allows us to manage a Cloud Contact Center business as a Service. That is, we can manage from a single deployer multiple instances of OMniLeads associated with different operations of Contact Center. At the same time, it has the facility to resize any component of the deployment, either at the time of scaling or shrink the number of users demanded by each SaaS customer, as well as managing updates from the immutable infrastructure approach.
The code that implements our deployer, is in GitLab. Therefore, the first thing we must do is bring the repository:
git clone --recurse-submodules https://gitlab.com/omnileads/terraform-digitalocean.git
Pre-requisites
Our deployer requires the following:
- A DigitalOcean account: Have a user capable of generating provider’s cloud resources.
- An SSH key available in our account: A key must be uploaded SSH, to then be able to assign to each VM created and thus enter via SSH to each Linux host securely.
- A token to access the provider’s API: The token is necessary to be able to authenticate against the API of the supplier.
- A user_key and secret_key to interact with SPACES: “Spaces” is the name of the supported S3 storage object. To interact with it, it should generate an id and key.
- An own doamin, whose DNSs point to those of DigitalOcean: The domain is used by Terraform when generating the URL and its SSL certificates, in such a way that when invoking URL, resolves the request to the load-balancer of the instance. Therefore, it should be configured in your domain provider, a redirect to DigitalOcean DNSs.
Interested Links:
- https://www.digitalocean.com/community/tutorials/how-to-point-to-digitalocean-nameservers-from-common-domain-registrars
- https://digitaloceancode.com/como-configurar-un-nombre-de-dominio-para-tu-servidor
- https://programacionymas.com/blog/como-enlazar-dominio-hosting-namecheap-digitalocean
- Generate a new directory called *instances* at the root of the repository: Ideally, it should be from cloning a repository in which we will work at the Git level (later we’ll come back to this topic).
git clone https://your_tenants_repo_track.git.com instances
The directory should be named exactly instances.
Deployer Configuration
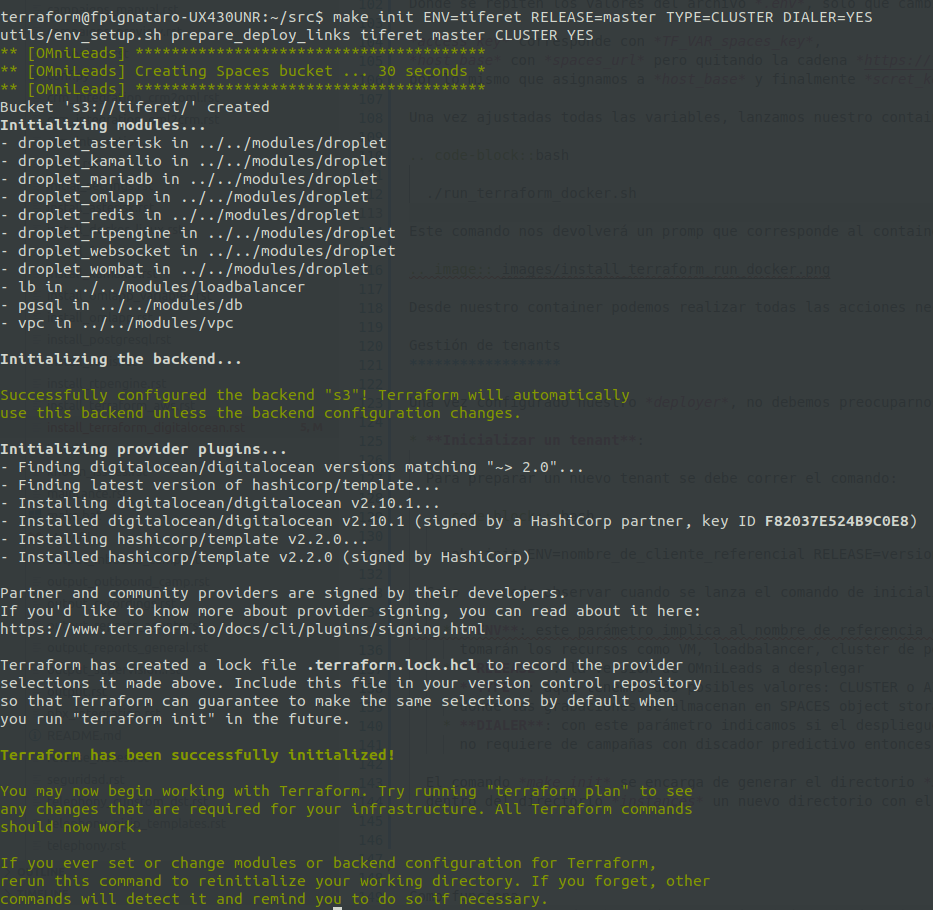
To start working with our SaaS customers, we must count on with 2 utilities: Terraform and s3cmd. Those tools could be installed on MAC, Windows or Linux. However, our repository contains a script to run a Docker container with everything installed and ready to go.
To launch the deployer container, we should first generate the file .env with a series of variables:
cp .env_template .env
Once our file is generated, we should assign values to our variables. For example:
TF_VAR_ssh_key_fingerprint=
TF_VAR_digitalocean_token=
TF_VAR_spaces_secret_key=
TF_VAR_spaces_key=
TF_VAR_spaces_url=
TF_VAR_domain_name=
TF_VAR_region=
Then, we should generate and edit the .s3cfg file available in the root from repository:
cp .s3cfg_template .s3cfg
access_key =
host_base =
host_bucket = %(bucket)s.change_me_for_spaces_url
secret_key =
Here, the values in the .env file are repeated, only names change. The relation is: access_key corresponds to TF_VAR_spaces_key, host_base corresponds to spaces_url but removing the string https: //, in the parameter host_bucket it should be replaced the string change_me_for_spaces_url with the same as we assign to host_base, and finally scret_key should contain the same value that we put in TF_VAR_spaces_secret_key.
Once all the variables have been adjusted, we launch our container:
./run_terraform_docker.sh
This command will return a prompt that corresponds to the container, and where you can also access the entire repository structure from there:

From our container, we can perform all the necessary actions on each managed tenant.
Tenant Management: deployment
Once our deployer is configured, we can start managing our instances of OMniLeads.
- Tenant Init:
To prepare a new tenant, the following command should be run:
make init ENV=nombre_de_cliente_referencial DIALER=YES|NO
As can be seen, when the SaaS environment initialization command is launched, the required arguments are:
- ENV: This parameter implies the reference name that we are going to use to refer our OML instance. It is the name that will take the resources like VM, load-balancer, PostgreSQL cluster, etc.
- DIALER: With this parameter, we indicate if the deployment includes the WombatDialer component and its MySQL backend. If the new deployment does not require campaigns with a predictive dialer, then we have the possibility of skipping the resources corresponding to that functionality.
The command make init is responsible for generating the directory $ ENV inside of instances. That is to say, after the execution we will find inside the instances directory, a new directory with the name that we have used as ENV.
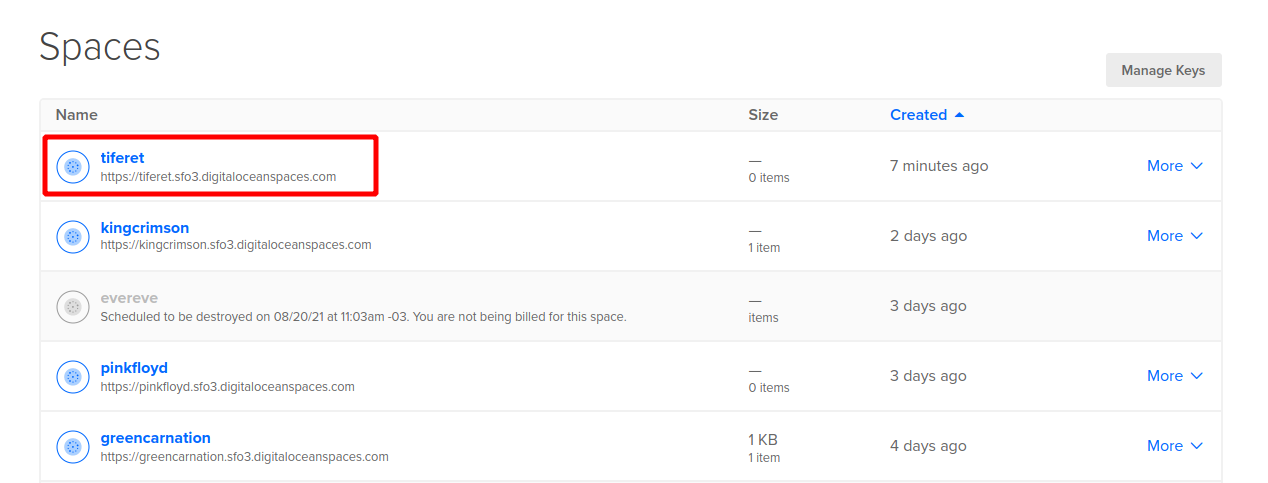
In addition, the SPACES bucket that will be used is generated to store the tfstate file and call recordings corresponding to our new tenant.
- Adjustement of Deployment Variables:
At this point, we have to define the sizes of the Linux instances that will host the different components. We move on to the new directory generated with the make init, and there we edit the file vars.auto.tfvars.
 ## SIZING VARS ## SIZING VARS ## SIZING VARS
 ## SIZING VARS ## SIZING VARS ## SIZING VARS
 # OMLapp component droplet size
 droplet_oml_size = "s-2vcpu-4gb"
 # Asterisk component droplet size
 droplet_asterisk_size = "s-1vcpu-1gb"
 # RTPengine componenet droplet size
 droplet_rtp_size = "s-1vcpu-1gb"
 # REDIS component droplet size
 droplet_redis_size = "s-1vcpu-1gb"
 # Wombat dialer component droplet size
 droplet_dialer_size = "s-1vcpu-2gb"
 droplet_mariadb_size = "s-1vcpu-1gb"
 # Kamailio component droplet size
 droplet_kamailio_size = "s-1vcpu-1gb"
 # Websocket component droplet size
 droplet_websocket_size = "s-1vcpu-1gb"
 # HAproxy component droplet size
 pgsql_size = "db-s-1vcpu-2gb"
 cluster_db_nodes = "1"

Usted podrá definir el tamaño en términos de CPU y memoria RAM de cada VM en dicha sección del archivo nombrado.
# ********************* OMniLeads App variables
# Asterisk SIP Trunks allowed ips
sip_allowed_ip = ["190.19.150.8/32"]
# Time Zone to apply on Django
oml_tz = "America/Argentina/Cordoba"


# Asterisk AMI USER for OMLApp manager connections
ami_user = "omnileadsami"
# Asterisk AMI PASS for AMI USER OMLApp manager connections
ami_password = "5_MeO_DMT"
# Wombat API user to login from OMLapp
dialer_user = "demoadmin"
# Wombat API password to login from OMLapp
dialer_password = "demo"
# PGSQL database name
pg_database = "omnileads"
# PGSQL username for OMLapp
pg_username = "omnileads"
# PGSQL password for OMLapp
pg_password = "098098ZZZ"
# Session cookie age
sca = "3600"
init_environment = "false"

# Wombat dialer Component vars
wombat_database = "wombat"
wombat_database_username = "wombat"
wombat_database_password = "admin123"
Also, we should adjust the: ref:about_install_omlapp_variables. We do not list all of them, since some of them are supplied by Terraform, like _host variables.
- Integrity Check:
The command make plan, helps us to check the integrity of our deployment code.
make plan ENV=nombre_de_cliente
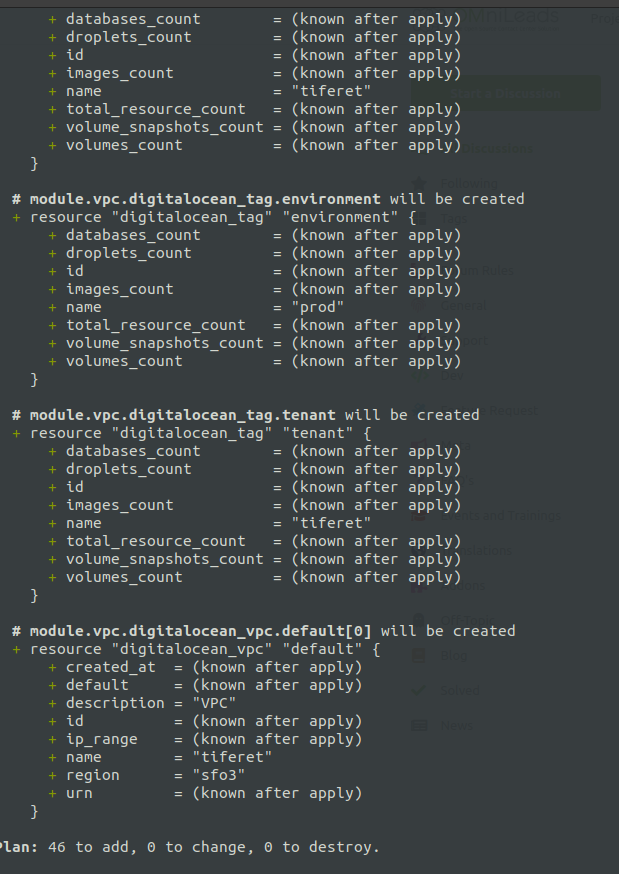
- Apply Deployment Process:
The command make apply, triggers the application of the deploy on our Provider. It may take 5-10 minutes to finish creation of all infrastructure resources, and then launch the installation of each component, taking about 30 minutes to start operating with our URL (https: //tenant_name.your_domain).
make apply ENV=nombre_de_cliente
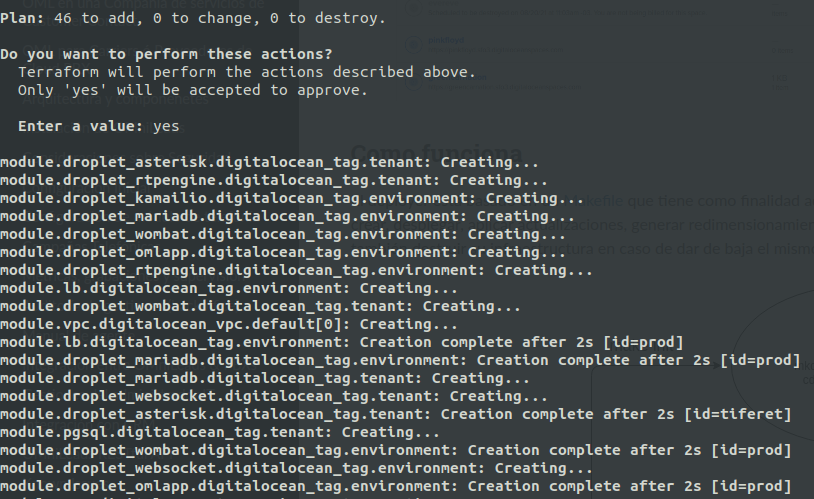
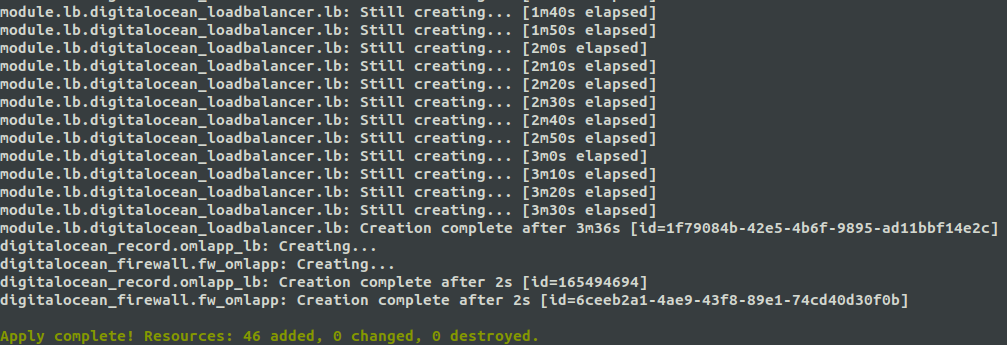
Once the creation of the resources is finished, the deployment proceeds with the OMniLeads software components.
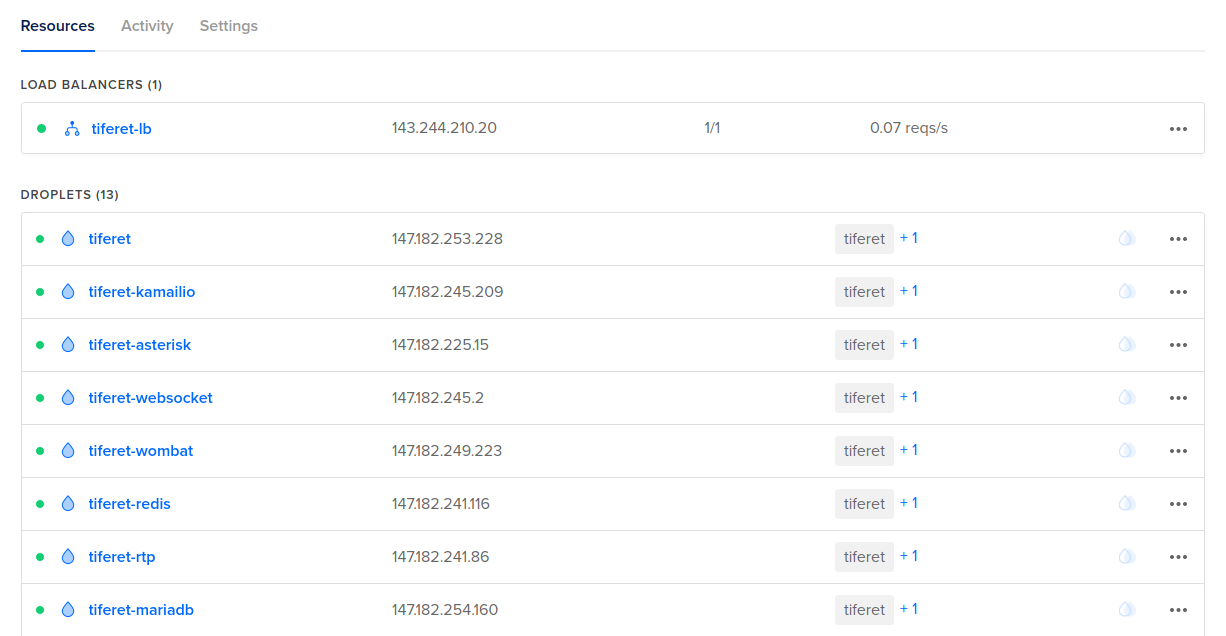
Finally, our URL client will be available to start operation.
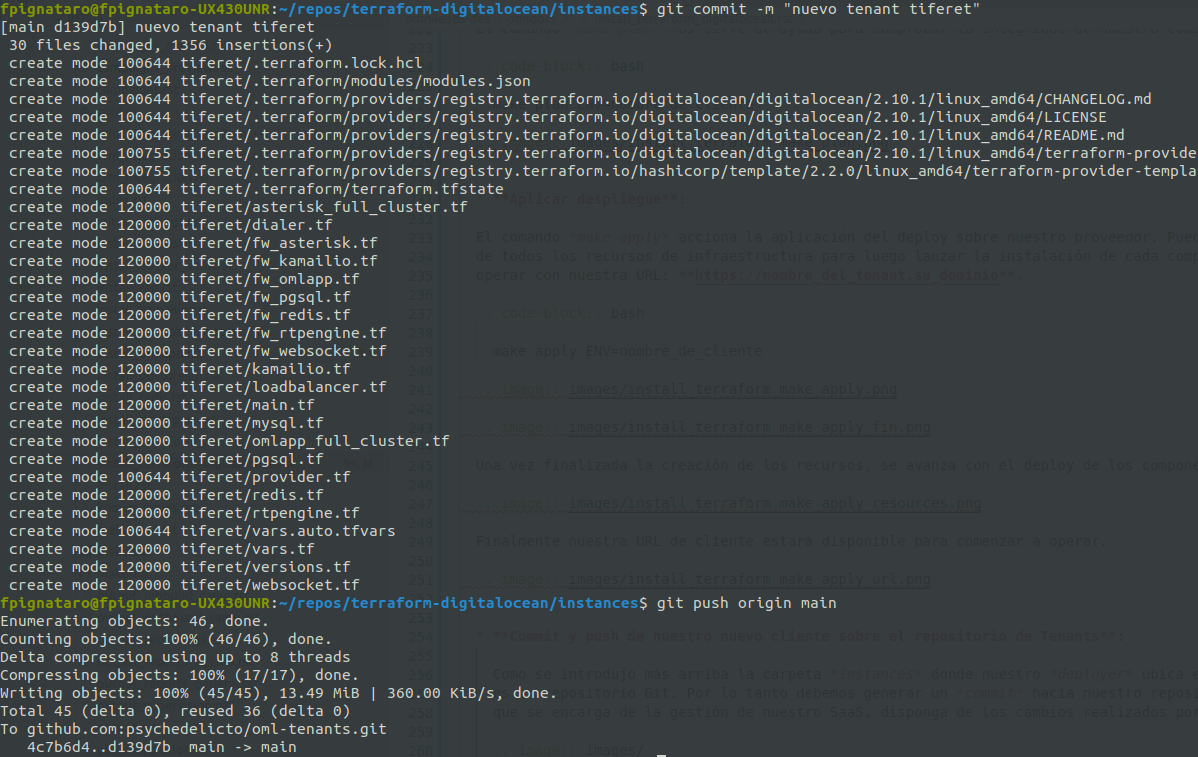
- Commit and push of our new client on the tenant repository:
As commented above, instances folder is the place where our deployer locates code/configuration pertinent to each tenant of our SaaS. As it is a Git repository, we should generate a commit in such a way that the DevOps team that handles the SaaS management has the last changes made by any member of the team.
Note
Of course our tenants code repository must be private!
Recordings and Backups Storage
One of the advantages of working in the cloud is the fact of using S3 technology - object storage to store large volumes of Data. In the case that concerns us, it would be call recordings and Automatic backups generated from scheduled tasks.
Note
By default, the deploy of the Asterisk and OMLApp components generates a CRON that runs at 23:50 every day. It executes a backup process that is hosted at the root of the Bucket where call recoridngs are stored.
Tenants Management: updates
Being working under the concept of immutable infrastructure, the upgrade process is considered as a deployment of a new one app version. Therefore, the process implies that the EC2 instances candidates to be updated will actually be destroyed and instead new instances will be launched to which the component version is indicated as a variable for each tenant.
Important
At the time of the deployment of the new version in the new EC2, the process of installation checks variables oriented to restore from backup. So it is important to run a backup manually before the update process, in case the nightly backup automatically generated does not contain the latest changes. If that is the case, we refer it to the updates section.
Let’s assume that Asterisk and OMLApp auto backups generated by the CRON are used. Then we simply have to locate the name of each file, since it must be indicated in the variables of the tenant before firing the procedure.
We then go on to modify the version of each component (OMLApp, Asterisk, Kamailio or Redis) that we want to update, then indicate as true auto restore backups and also indicate the name of the backup of Asterisk and OMLApp. All this inside the file tenant.auto.tfvars:
# Braches release to deploy
oml_app_branch          ="release-1.19.0"
oml_redis_branch        ="210714.01"
oml_kamailio_branch     ="210714.01"
oml_acd_branch          ="210802.01"

# Backup/Restore params
oml_auto_restore        = "true"
oml_app_backup_filename = "211201-115100-oml-backup"
oml_acd_backup_filename = "211201-145223-oml-backup"

reset_admin_pass        = "false"
Note
Take into account that the name of the backup files do not contain the extension .tar.gz. Remember to set to false the parameters that reset the admin password.
Once the file is adjusted, proceed with a make plan and if there is no issues, proceed with a make apply. This one will take care of destroying Linux instances that have versions divergent from what is provided in the variables file, for later recreate these instances and provision the installation of each component related to the desired version.
The fact of having PostgreSQL on a Cloud provider cluster and the recordings on a Bucket-S3, allows us to operate under this concept of immutable infrastructure with the advantage of forgetting about the Package and Dependency-Based Updates Procedures.
Tenants Management: re-sizing
When resizing a tenant, we simply have to adjust the variable file:
droplet_oml_size = "s-2vcpu-4gb"
droplet_asterisk_size = "s-1vcpu-1gb"
droplet_rtp_size = "s-1vcpu-1gb"
droplet_redis_size = "s-1vcpu-1gb"
droplet_kamailio_size = "s-1vcpu-1gb"
droplet_websocket_size = "s-1vcpu-1gb"
pgsql_size = "db-s-1vcpu-2gb"
cluster_db_nodes = "1"
droplet_dialer_size = "s-1vcpu-2gb"
droplet_mariadb_size = "s-1vcpu-1gb"
We select the instance size for each component, we save changes and just as always we should launch a make plan and if no errors, then we continue with the make apply to impact the resource changes.
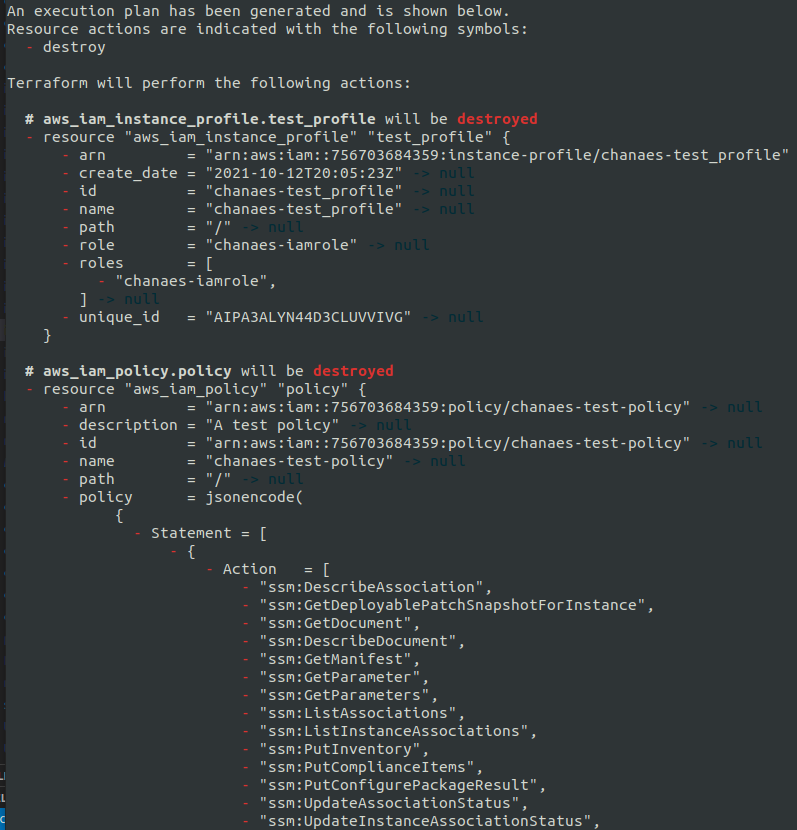
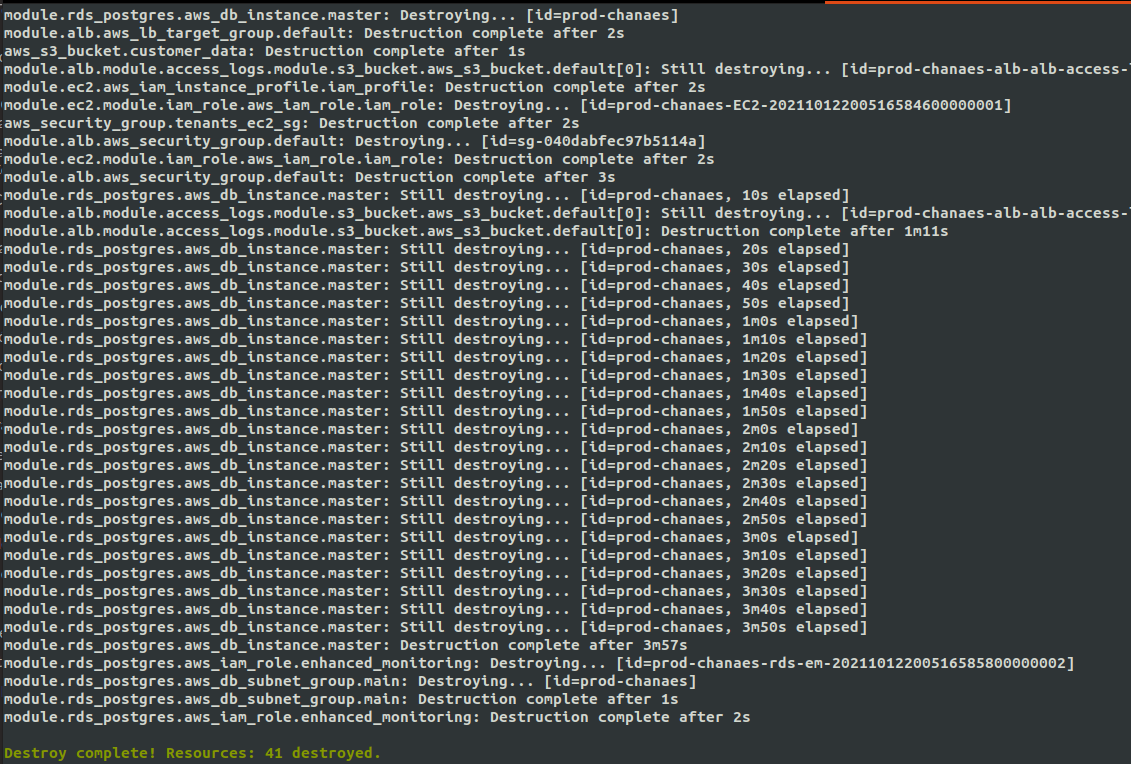
Tenants Management: Destroy
With the command make destroy we proceed with the destruction of our Tenant. All infrastructure resources will be destroyed. However, it is necessary to leave the recordings and logs bucket empty since destroy procedure will fail if buckets contain information. This behavior responds to the fact of preventing loss of valuable data.
make destroy ENV=nombre_de_cliente