Initial configuration
The application is already installed. Therefore, the post-installation configuration steps are discussed in this section.
Roles and permissions
In this section, the Roles predefined in the system can be listed. Besides, the administrator can also customize any of them, as well as generate his or her own customized Roles for the operation.
Below, the predefined roles are listed:
- Basic supervisor: the users generated from this role will only be able to list all the campaigns, consult general reports of agents and calls, and access the supervision of agents and campaigns.
- Supervisor: the users generated from this role will be able to work with all the campaigns (create, modify, delete and list), access supervision and general reports of calls and agents. They will also be able to create users and agent groups, find recordings of their campaigns, list and upload contacts, and access the telephony module where they will be able to work with some sections.
- Manager: the users generated from this role will be able to perform all the actions of a supervisor and also view the Audit module.
- Administrator: users generated from this role will have access to the entire system.
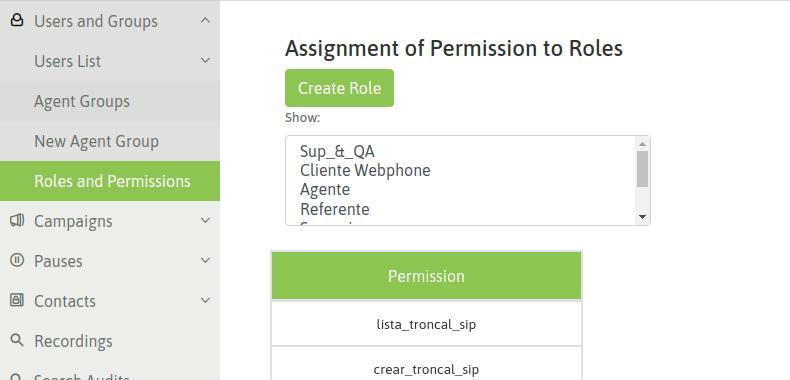
To create a custom Role, you should access the Users and groups module, Roles and permissions section, then indicate Create role. The new role is assigned a name and then the permissions it will have are marked. In order not to start from scratch, the user can start from a permissions base of a certain profile and then continue personalizing (adding or limiting permissions) untiher role is ready.
The creation of a new role is exemplified below:
- Create a new role: create a new role and assign a name to it.
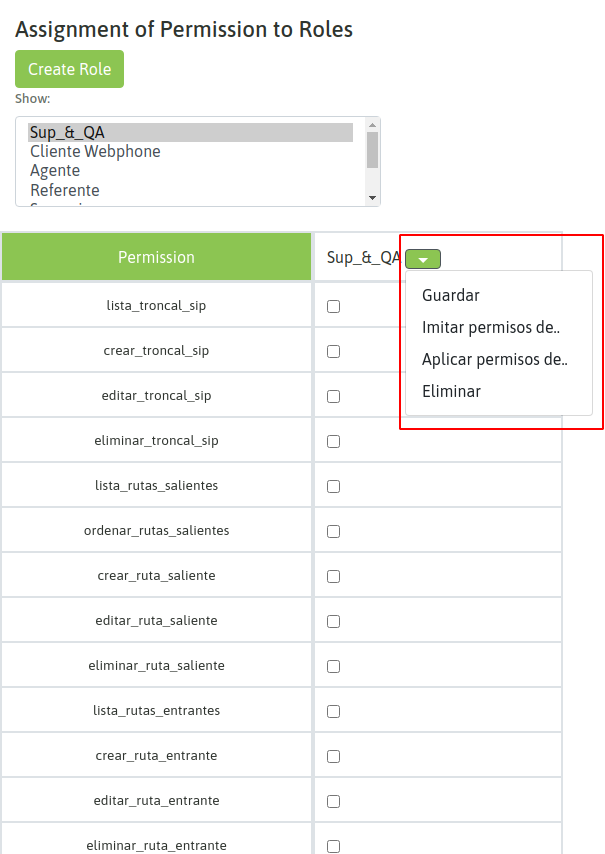
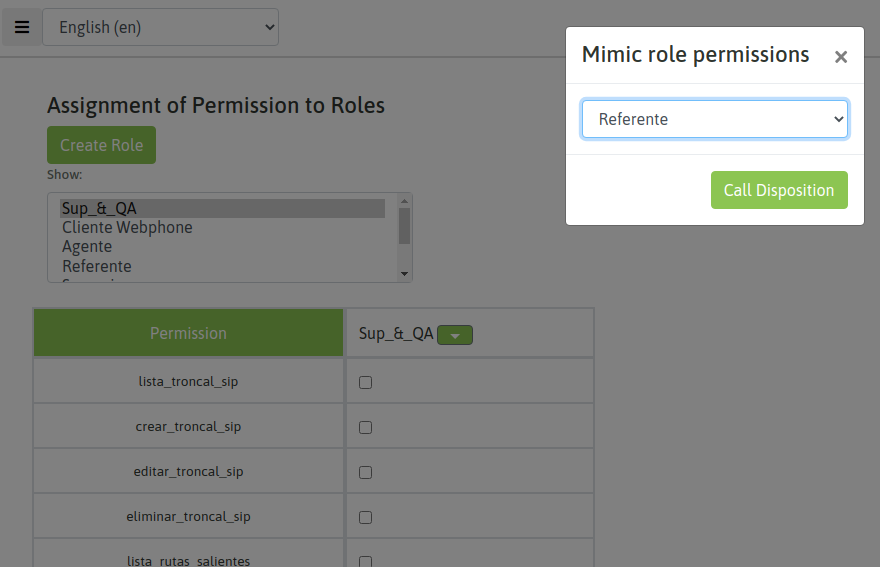
One can imitate permissions from a group or apply permissions from an existing group. The difference is that the first option uses the same permissions, while the second option adds the permissions to those that have already been checked in the new role.
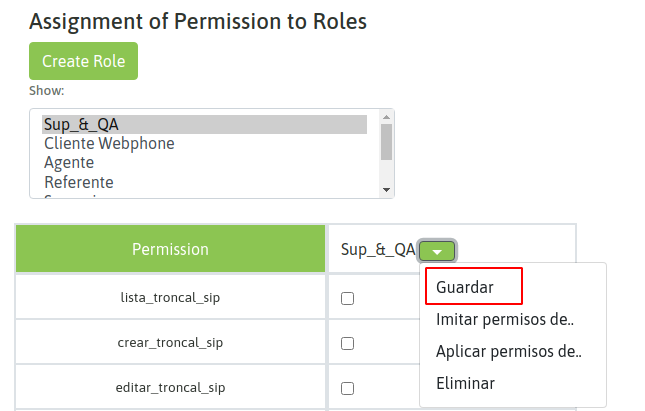
- Save the new role: finally the new role created is saved.
Users
There are two types of users we must differentiate: Agents and Administrative. Agent users are those who manage communications, while Administrative users manage the application.
Important
Before creating an Agent user there must be at least one Group of Agents.
To create a user one must access the section Users → New Users.
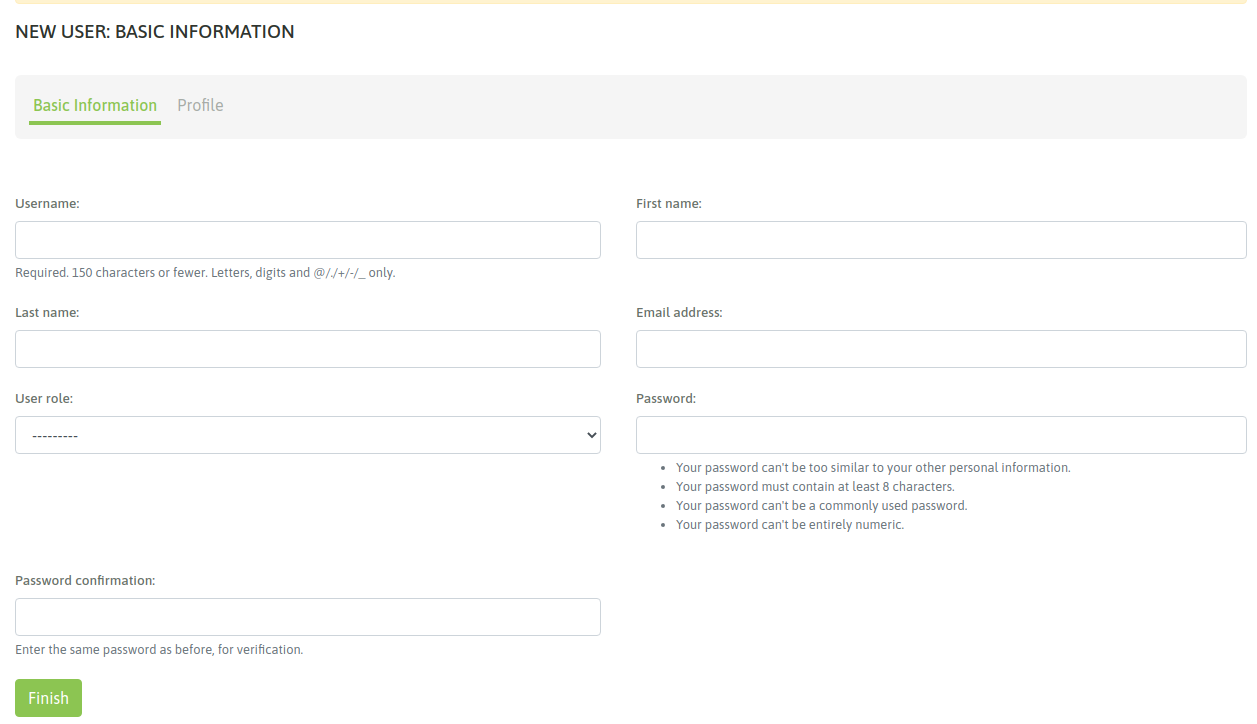
A form will be displayed to be completed with the data of the new user.
Groups of Agents
In this section the agent groups are managed. These groups will be invoked in different modules of the system, such as when assigning users to campaigns, in the extraction of reports or in the supervision module.
Create agents group
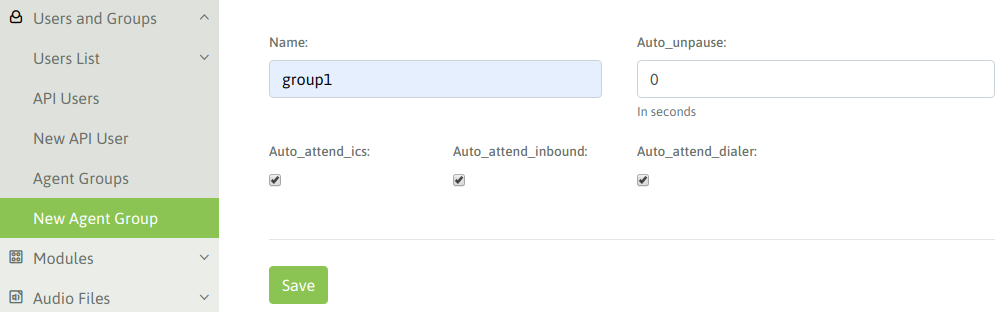
The fields displayed are:
- Name: is the name desired to assign to the agents group.
- Auto_unpause: to understand this parameter we must first explain that in OMniLeads after each call (of any nature) processed by an agent, the agent is forced to enter an ACW (after call work) pause, in which he or she remains inactive for the assigned campaigns. This allows the agent to complete the qualification of the current call and continue operating. In order to leave this system-induced pause there are two possibilities, and that is where our parameter comes in. If one leaves the value at 0 the agent must explicitly exit the pause to continue operating. But, if one assigns a number (for example 5 seconds), the system will automatically return the agent online after the assigned seconds (as indicated in this parameter).
- Auto_attend_inbound: if this value is checked, the calls coming from inbound campaigns will be connected to the agent without providing the possibility of notification (Ring) nor the option to attend by the agent.
- Auto_attend_dialer: if this value is checked, the calls from campaigns with predictive dialer will be connected to the agent without giving the possibility of notification (Ring) nor the option to attend by the agent.
Add audio packages in other languages
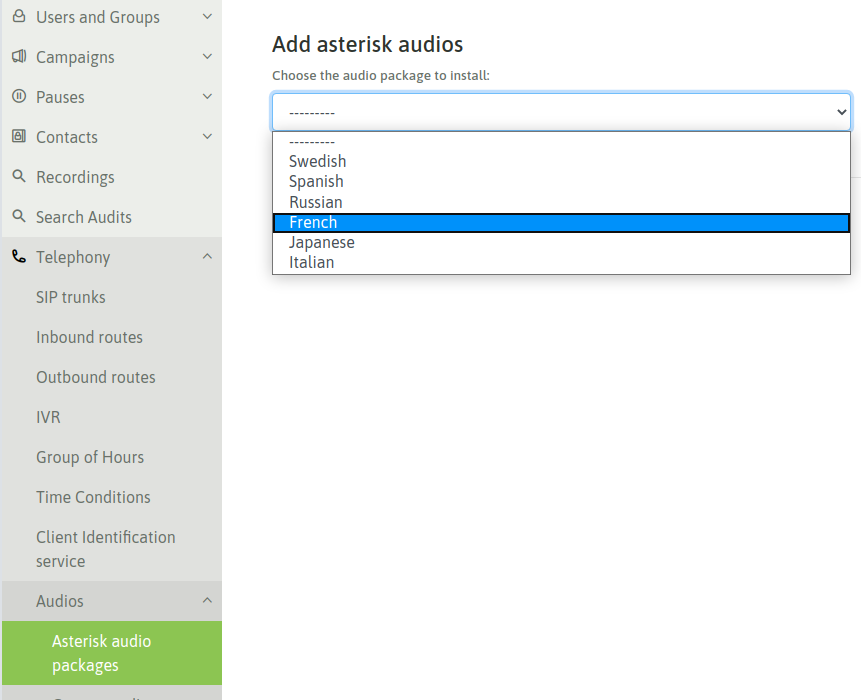
The generic audios that the external agents or telephones will listen to come by default in English, being configurable in the incoming or outgoing routes, so that if the telephone channel meets any indication through generic audio within the flow of a call, it could be reproduced according to the indicated language.
If the instance needs to use other languages, they can be installed through the Telephony Module in the Audio packages section, where new languages can be added.
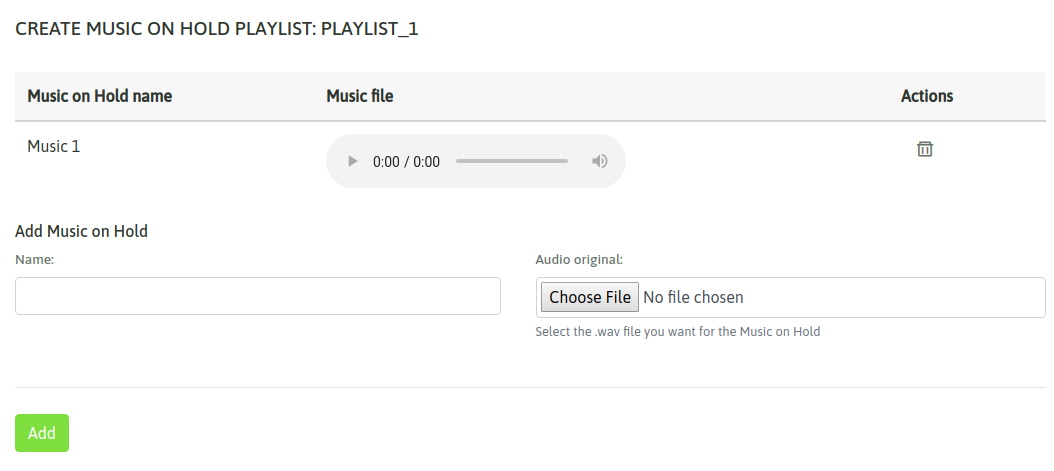
Music on hold
Within the Telephony module, the Music on Hold section allows one to manage playlists with files in the Wav 16 bit format. The lists generated can be used in incoming campaigns when putting callers in a queue. Playlists that are being used in a campaign or have assigned files cannot be removed.
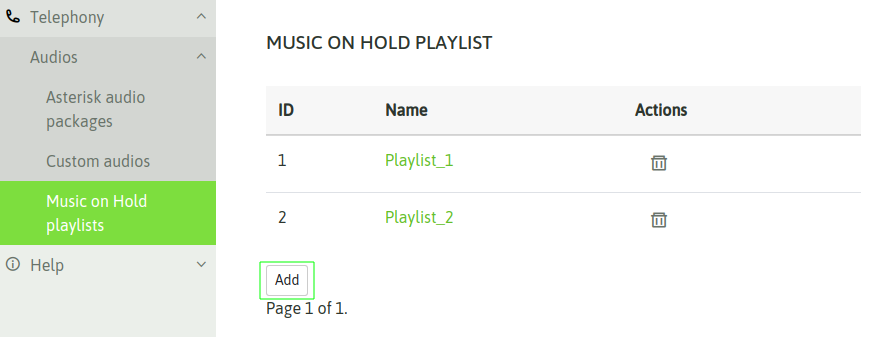
Once a new list is created, the desired music must be added through .wav format files to be loaded from your computer. Only playlists that have at least one music loaded will be available for use in incoming campaigns.
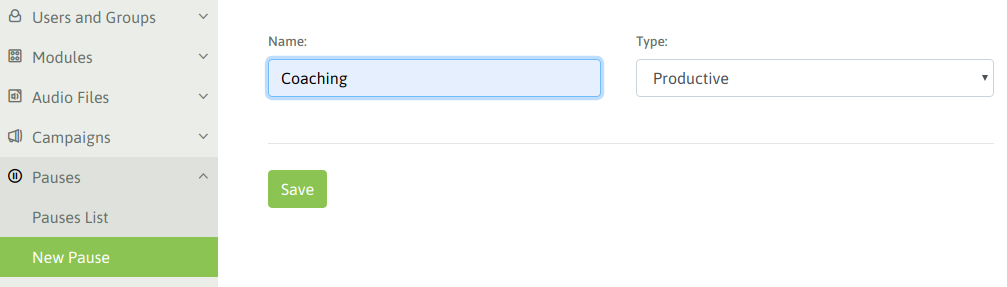
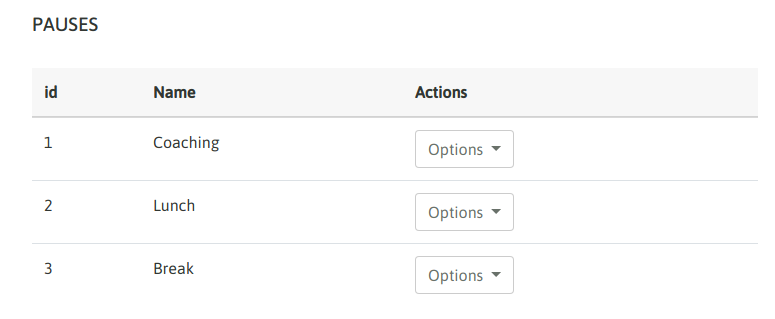
Create agent pauses
The agents can enter a pause whenever they want to be unavailable for the call processing, this prevents that an incoming or dialed campaign assigns a new call. Also pause states are useful for recording productivity and measuring agent session times.
Pauses can be generated by supervisors and are classified as Recreational and Productive pauses.
At the time of presenting the agent sesión reports, the totalized pauses are divided in recreative pauses and productive pauses. This allows measure the productivity of our agents in a more exact way.
First agent login
Important
Have in mind that to obtain successful login, you must have an available MICROPHONE: in the workstation where the agent is going to work. Otherwise the login could be flawed.
Once we access with our agent, if everything goes well we should run into a popup which request the permission to take control of the microphone, ass illustrated in Figure.
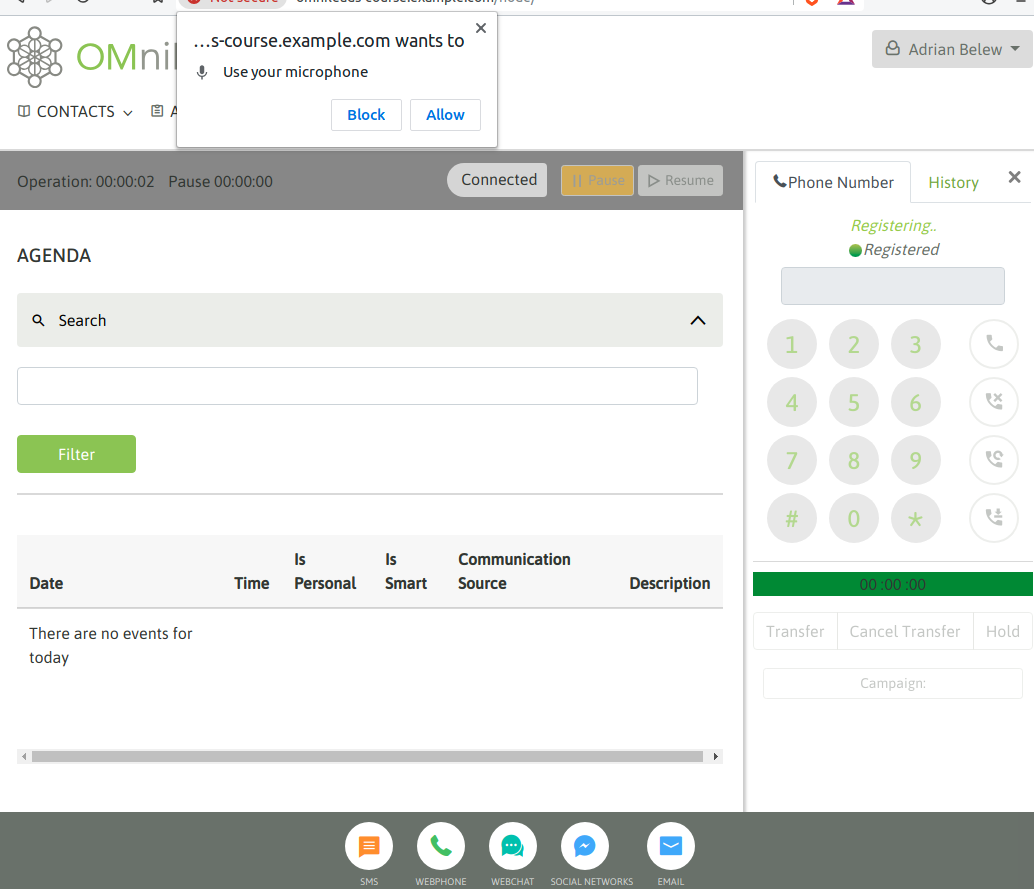
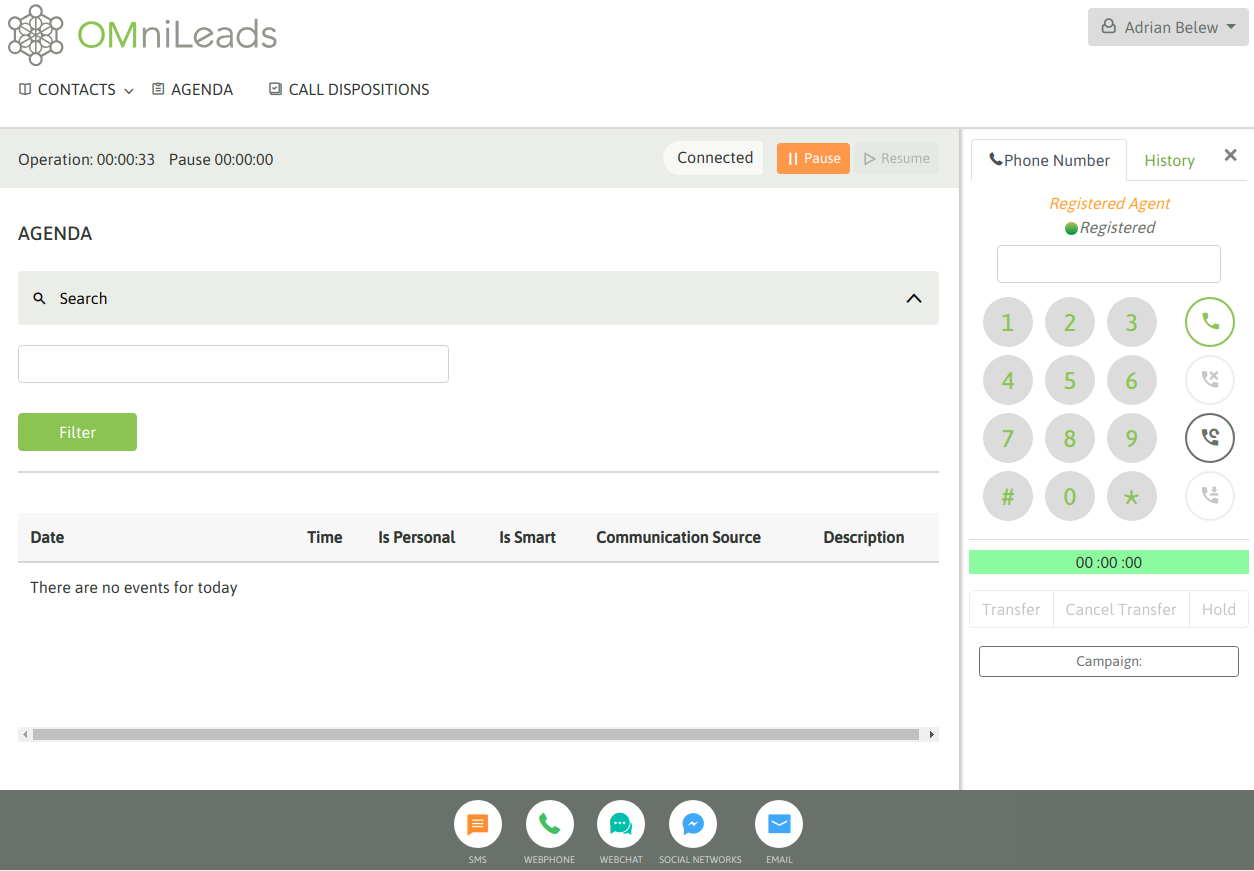
When allowing the permission, we should listen to an audio that the system reproduces indicating the successful login and also the agent screen should look like figure.
Instance registry
This step is not mandatory since the system can work perfectly without registering. However, it is necessary to have the registered instance when acquiring an Addon or when subscribing the platform to the manufacturer support.
Finally, for those certified integrators (those who have approved the official OMniLeads certification program), after registering the instance, the installation can be signed with the certification code. Thus, visibilizing that the platform has been deployed and configured by an IT admin certified by the manufacturer.
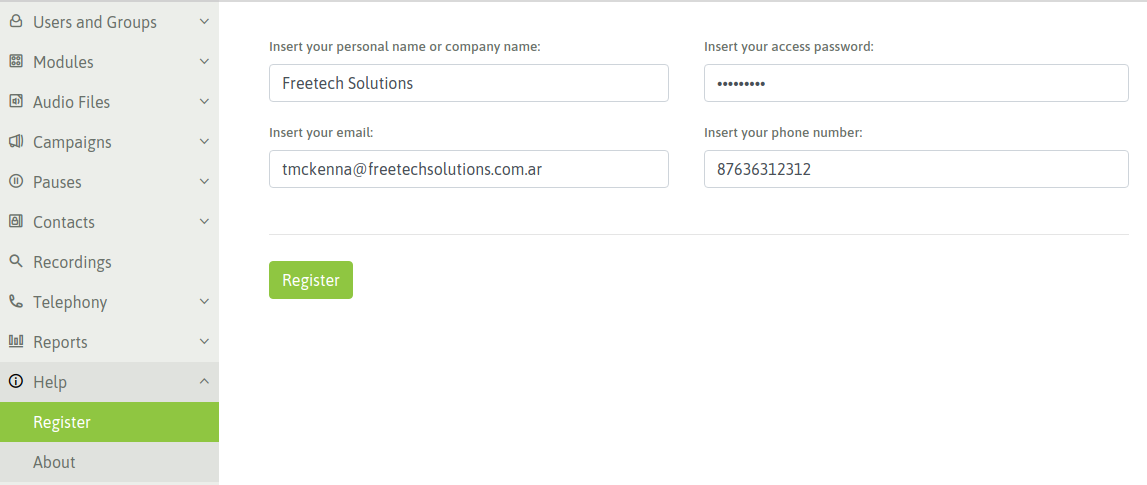
The fields here must be filled after that you will receive an email with the instance key
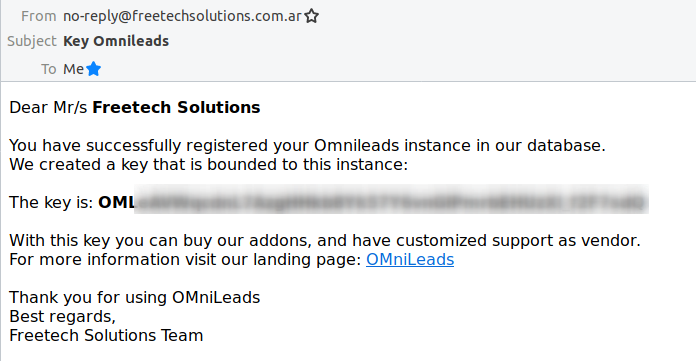
After that, every time you go to Register section you will see this.
